
Charge Controller: Price, Types, Input Voltage Limit, Amp Rating, Efficiency, Battery Voltage, Protections, Battery Compatibility, Monitoring and Lifespan
A charge controller is a device that regulates the voltage and current flowing from solar panels into a battery. Key aspects include types, price, amp rating, input voltage limit, battery voltage, efficiency, battery compatibility, protections, and monitoring and lifespan. It prevents overcharging by reducing or stopping the current once the battery reaches its target voltage, and it also blocks reverse current at night. Within a solar panel system, it sits between the array and the battery bank, protecting the battery and extending its working life. The two main types are PWM and MPPT, and they differ in efficiency, cost and how they handle higher panel voltages. The article covers price ranges, amp ratings, the input voltage limit of the array, and matching the unit to 12, 24 or 48 volt batteries. Whether the setup is a small cabin system or a solar Maryland rooftop installation, these four ratings determine what the controller can safely handle.
Key Takeaways
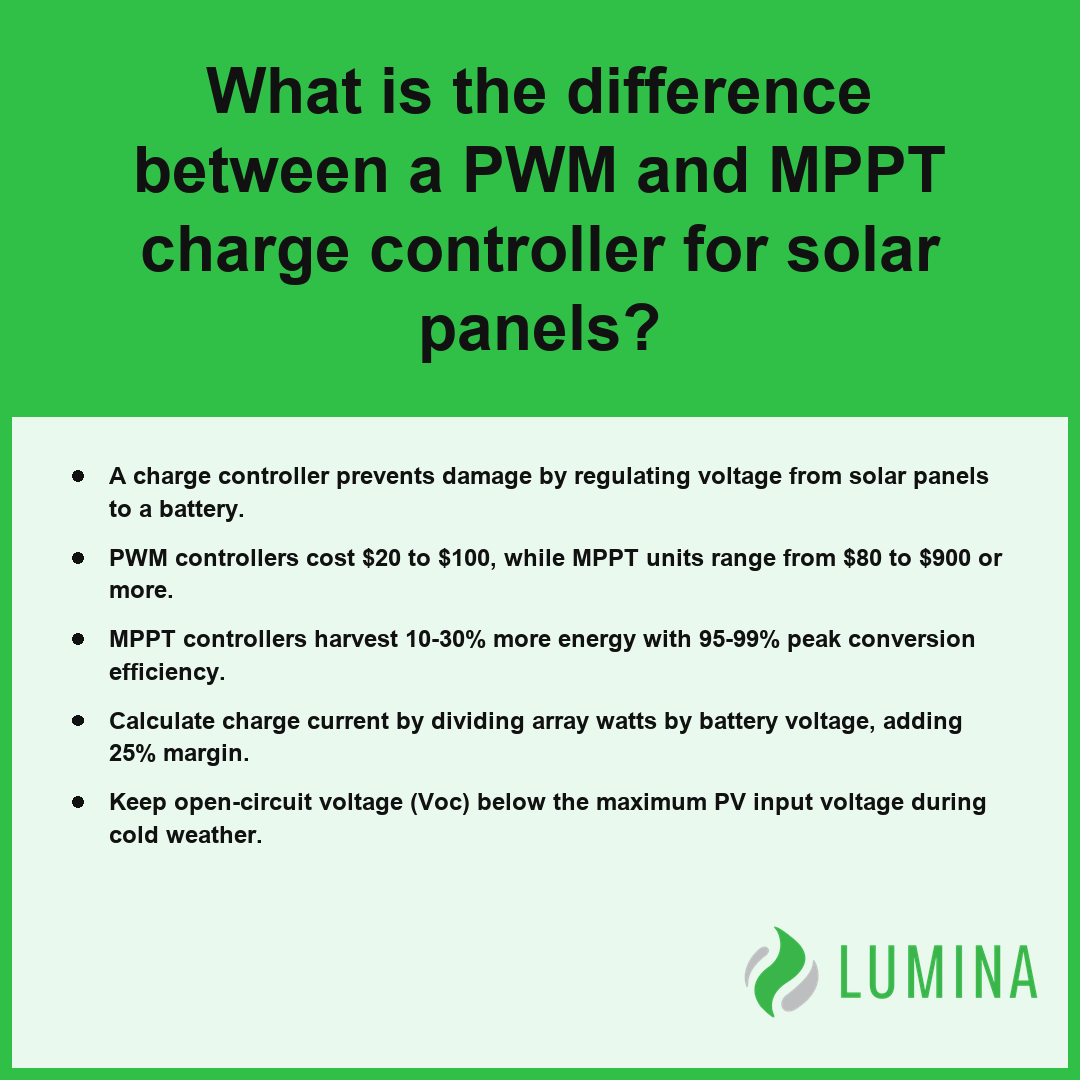
- A charge controller prevents damage by regulating voltage from solar panels to a battery.
- PWM controllers cost $20 to $100, while MPPT units range from $80 to $900 or more.
- MPPT controllers harvest 10-30% more energy with 95-99% peak conversion efficiency.
- Calculate charge current by dividing array watts by battery voltage, adding 25% margin.
- Keep open-circuit voltage (Voc) below the maximum PV input voltage during cold weather.
PWM vs MPPT Charge Controller: What Is the Difference for Solar Panels?
The difference between a PWM and MPPT charge controller lies primarily in how each device manages the conversion of power from your solar panels to your battery bank. While a PWM controller functions essentially as a high-speed switch that pulls the solar panel voltage down to match the battery voltage, an MPPT controller uses a sophisticated DC-DC converter to transform excess voltage into usable charging current. According to the Department of Energy, MPPT controllers are generally recommended for larger solar arrays or systems operating in varying temperature conditions because they can convert excess voltage into usable charging current, whereas PWM controllers cannot.
Energy Harvest Comparison
| Feature | PWM Controller | MPPT Controller |
|---|---|---|
| Efficiency | Low (Voltage mismatch loss) | High (95-99% peak) |
| Energy Harvest | Baseline | 10-30% more energy |
| Typical Cost | $20 to $100 | $80 to $900+ |
| Operation | Simple switch | DC-DC conversion |
Because an MPPT controller actively tracks the peak power point of your solar panels, it excels in scenarios where the panels operate at a significantly higher voltage than the battery bank. In contrast, the PWM controller is a cost-effective, durable solution best suited for smaller, simpler setups where the panel voltage closely matches the battery voltage. To determine which is appropriate for your installation, evaluate whether the 10-30% increase in energy harvest justifies the higher initial investment for your specific daily power requirements.
Consider these additional factors when selecting the right charge controller for your specific project:- Cable Sizing: MPPT controllers allow for higher input voltages, which typically requires thinner, less expensive wiring due to lower current flow.
- Future Expansion: An MPPT system offers greater flexibility if you intend to add more solar panels to your array later.
- Temperature Sensitivity: MPPT units perform better in hot climates where solar panel voltage drops, as they can still optimize the remaining output.
- System Complexity: PWM controllers are often integrated into smaller, all-in-one portable power stations, simplifying the installation for beginners.
How Much Does a Solar Charge Controller Cost?
The cost of a solar charge controller varies significantly based on the technology used and the amperage capacity required for your system. When selecting a unit, you are essentially choosing between the budget-friendly PWM controller or the more efficient MPPT controller. Because an MPPT controller incorporates a complex DC-DC converter to optimize energy harvest, its manufacturing complexity drives the price higher compared to the simpler switching design found in PWM units. Per the National Renewable Energy Laboratory, the total cost of a charge controller is fundamentally scaled by its amperage rating, as units capable of handling higher currents require more robust internal components that increase the retail price.
| Controller Technology | Amperage Capacity | Estimated Price Range | Efficiency Advantage |
|---|---|---|---|
| PWM (Pulse Width Modulation) | 10A – 60A | $20 – $100 | Basic switching (Baseline) |
| MPPT (Maximum Power Point Tracking) | 20A – 40A | $80 – $250 | 10–30% higher harvest |
| MPPT (Maximum Power Point Tracking) | 60A – 100A | $300 – $900+ | Optimized DC-DC conversion |
Typical Cost Range Midpoints by Controller Type
Price ranges are categorized by the following industry standards for common hardware configurations:
- PWM charge controller (10-60 amp sizes): $20 to $100
- MPPT charge controller (20-40 amp sizes): $80 to $250
- MPPT charge controller (60-100 amp sizes): $300 to $900 or more
While the initial expenditure for an MPPT controller is higher, the ability to harvest 10-30% more energy frequently justifies the investment for larger solar arrays or systems operating in cooler climates where voltage differentials are higher. If your system is small and operates in a consistent, warm environment, the lower cost of a PWM unit may suffice. Evaluate your total array wattage and expected performance gains in cold conditions to determine if the extra cost for MPPT efficiency provides a better long-term return on your investment.
Consider these additional factors that influence the final investment cost of your solar charge controller system:- Connectivity Features: Units equipped with Bluetooth, Wi-Fi, or remote monitoring displays typically command a 15–25% price premium over standard manual-interface models.
- Environmental Rating: Controllers with IP65 or higher ingress protection ratings, designed for outdoor or marine environments, cost significantly more than standard indoor-rated enclosures.
- Voltage Compatibility: Multi-voltage units capable of automatically switching between 12V, 24V, and 48V battery banks require more sophisticated power electronics, increasing the base purchase price.
- Brand Reputation and Warranty: Premium brands offering extended five-year warranties or advanced thermal management systems often price their products at the top end of the market range compared to budget generic alternatives.
What Size Charge Controller Do You Need for a 400 Watt Solar Panel Array?
To determine the correct size charge controller for a 400 watt solar panel array, you must calculate the maximum current the system will produce and select a unit capable of handling that output with an appropriate safety margin. Per the American National Standards Institute, compliance with the National Electrical Code requires that charge controllers be sized to handle the maximum current output of the photovoltaic source circuit under all expected operating conditions.
Required Charge Controller Capacity (Amps) by System Voltage
How Do You Calculate Maximum Charge Current?
You calculate the maximum charge current by dividing the total wattage of your solar panels by the nominal voltage of your battery bank. For a 400 watt array connected to a 12 volt system, 400 W divided by 12 V results in approximately 33 A of potential current.
Why Add a 25% Safety Margin?
You should always add a 25% safety margin to your base calculation to account for specific environmental conditions that can boost output, such as cold temperatures that increase panel efficiency or intense sunlight reflections. Applying this margin to the 33 A base current, you arrive at a requirement of approximately 41.25 A, which dictates the minimum capacity of your charge controller.
How Battery Voltage Changes the Amp Rating
The battery bank voltage significantly influences the charge controller sizing because higher system voltages require fewer amps to deliver the same amount of power. The following table illustrates how the current demand drops as you increase the system voltage for your 400 watt array:
| Battery Bank Voltage | Base Current (Amps) | Required Current with 25% Margin |
|---|---|---|
| 12 V | 33.3 A | 41.6 A |
| 24 V | 16.7 A | 20.9 A |
| 48 V | 8.3 A | 10.4 A |
Choosing the Next Standard Charge Controller Size
Once you calculate your total required current, select a charge controller rated for the next standard size available above your calculated value. For a 12 volt system needing 41.6 amps, you should choose a 50 or 60 amp model to ensure safe, reliable operation.
Always verify that your selected unit also matches the maximum PV input voltage requirements for your specific panel wiring configuration.
Consider these additional factors to ensure your charge controller operates safely and efficiently:- Verify that the charge controller’s maximum input voltage (VOC) rating exceeds the total open-circuit voltage of your solar array, especially in cold weather.
- Ensure the controller is compatible with your specific battery chemistry, such as LiFePO4, AGM, or flooded lead-acid.
- Select an MPPT (Maximum Power Point Tracking) controller over a PWM model to maximize energy conversion efficiency for your 400-watt array.
- Confirm that the wire gauge used between the solar panels and the controller is sufficient to prevent excessive voltage drop at the calculated amperage.
How to Keep Solar Panel String Voltage Under the Charge Controller’s Maximum PV Input Voltage in Cold Weather
You keep solar panel string voltage under the charge controller’s maximum PV input voltage in cold weather by calculating the worst-case open-circuit voltage (Voc) of your array at your region’s lowest expected temperature. Solar panels produce higher voltage when cold, and exceeding the maximum PV input voltage rating—typically 100, 150, 250, or 600 V—can permanently destroy the internal circuitry of your charge controller.
| System Class | Max Input Voltage (V) | Safety Margin (5%) | Recommended Max Cold-Weather String Voltage (V) |
|---|---|---|---|
| Entry Level | 100 V | 5 V | 95 V |
| Standard | 150 V | 7.5 V | 142.5 V |
| High Capacity | 250 V | 12.5 V | 237.5 V |
| Industrial Scale | 600 V | 30 V | 570 V |
Typical Charge Controller Maximum PV Input Voltage Ratings (V)
- Find the temperature coefficient for voltage on your solar panel data sheet.
- Identify the lowest historical ambient temperature for your installation site.
- Calculate the voltage increase for each panel using the difference between standard test conditions (25°C) and your local record low.
- Multiply the cold-weather Voc of a single panel by the total number of panels wired in series.
- Ensure this total string voltage remains at least 5% below the maximum PV input voltage limit specified by the manufacturer of your charge controller.
Review the technical documentation for your specific solar panels to find the temperature coefficient, as neglecting this calculation during winter months is a leading cause of premature hardware failure. Sandia National Laboratories reports that designers must account for the temperature coefficient of open-circuit voltage provided on the module data sheet to ensure that the cumulative string voltage during extreme cold does not exceed the maximum input voltage rating of the charge controller.
Follow these technical steps to accurately calculate your solar array’s cold-weather voltage performance:- Locate the temperature coefficient of open-circuit voltage (βVoc) on your panel’s datasheet, typically expressed as %/°C.
- Determine the temperature delta by subtracting your region’s record low temperature from the standard test condition of 25°C.
- Calculate the voltage increase per panel by multiplying the temperature delta by the βVoc percentage and the nominal Voc.
- Add this calculated increase to the nominal Voc to find the maximum cold-weather voltage for a single module.
- Multiply the single-panel cold-weather voltage by the number of panels in the series string to ensure the final total remains below the recommended limit.
Can a Charge Controller Work With 12, 24 and 48 Volt Battery Banks and Detect the Voltage Automatically?
Yes, a charge controller can work with 12, 24, and 48 volt battery banks, and many modern units are designed to detect the system voltage automatically upon connection. When you first wire the device to your battery bank, the internal processor identifies the voltage level to calibrate its charging stages, such as the absorption stage and float stage, accordingly. While many models provide this auto-detection feature, some specialized or higher-capacity hardware requires you to manually select the voltage through a settings menu or via physical jumpers on the circuit board.
| Nominal System Voltage | Lead-Acid Absorption Range | LiFePO4 Absorption Range | Voltage Setpoint Scaling |
|---|---|---|---|
| 12 V | 14.4 V – 14.8 V | 14.2 V – 14.6 V | Baseline (1x) |
| 24 V | 28.8 V – 29.6 V | 28.4 V – 29.2 V | 2x Baseline |
| 48 V | 57.6 V – 59.2 V | 56.8 V – 58.4 V | 4x Baseline |
Battery Bank Nominal Voltage Levels
Understanding these voltage parameters is essential for battery health, as the device ensures that your lithium iron phosphate (LiFePO4) or lead-acid batteries receive the precise voltage profile required for their chemistry. Per the International Electrotechnical Commission, industry standards for these devices mandate that controllers must identify the nominal voltage of a battery bank to prevent improper charging stages and potential thermal runaway. Failure to match the controller setting to your bank voltage can lead to incomplete charging or severe damage to your cells.
- 12 V: Typically uses absorption voltages of 14.4-14.8 V for lead-acid or 14.2-14.6 V for lithium iron phosphate (LiFePO4).
- 24 V: Doubles the voltage setpoints compared to a 12 V system to maintain proper charging pressure.
- 48 V: Requires four times the voltage setpoints of a 12 V system for efficient energy transfer.
- Auto-detection logic: Most units sense battery voltage immediately when the battery terminals are connected, prior to solar panel activation.
Verify that your specific model supports the full range of voltages used in your battery bank before finalizing the installation.
Follow these best practices to ensure safe and accurate charge controller installation:- Verify that your battery bank voltage does not exceed the controller’s maximum input voltage rating to prevent internal component damage.
- Always connect the battery bank to the controller before connecting the solar array to ensure the device correctly initializes its voltage sensing logic.
- Inspect all wire gauges to ensure they meet the minimum requirements for the total amperage capacity of your specific system voltage.
- Secure all terminal connections to the manufacturer-specified torque settings to minimize heat buildup and voltage drop.
- Ensure the controller is mounted in a well-ventilated, vertical orientation to allow for effective passive cooling during high-current charging stages.
Frequently Asked Questions
How much more energy does an MPPT charge controller harvest than a PWM controller?
An MPPT controller harvests 10-30% more energy than a PWM controller by converting excess panel voltage into extra charging current. While a PWM controller is simple and costs $20-$100, an MPPT controller achieves 95-99% peak efficiency, providing significant gains in cold weather or with high-voltage solar panels.
Can I use a solar charge controller with lithium iron phosphate batteries?
Yes, you can use a charge controller with lithium iron phosphate (LiFePO4) batteries by setting the correct charging profile. For a 12 V bank, the charge voltage is about 14.2-14.6 V. Ensure your controller is programmed for these specific lithium parameters, as they require little to no float stage.
What are the bulk, absorption and float charging stages of a solar charge controller?
The charging stages include the bulk stage for maximum current, the absorption stage for constant voltage, and the float stage for lower maintenance voltage. Some models also include an equalization stage for flooded lead-acid batteries. These stages ensure your battery bank charges correctly without being damaged by overcharging.
What protections does a solar charge controller provide, such as reverse polarity, temperature compensation and low-voltage disconnect?
A charge controller protects your system with features like reverse polarity, short circuit protection, and reverse-current protection at night. Many models use temperature compensation, typically adjusting voltage by -18 to -30 mV per °C for a 12 V bank, while some units offer low-voltage load disconnect to prevent battery damage.
How long does a solar charge controller last and can I monitor it with Bluetooth?
Many models offer Bluetooth or network monitoring to track volts, amps, watt-hours, and battery state. While lifespan depends on operating conditions, you can protect your equipment by ensuring your string open-circuit voltage (Voc) stays below the maximum PV input voltage rating to prevent the charge controller from being destroyed.