
Mounting System: Cost, Types, Roof Attachments, Load Rating, Tilt and Direction, Weight, Materials, Code Compliance, Lifespan, Module Compatibility
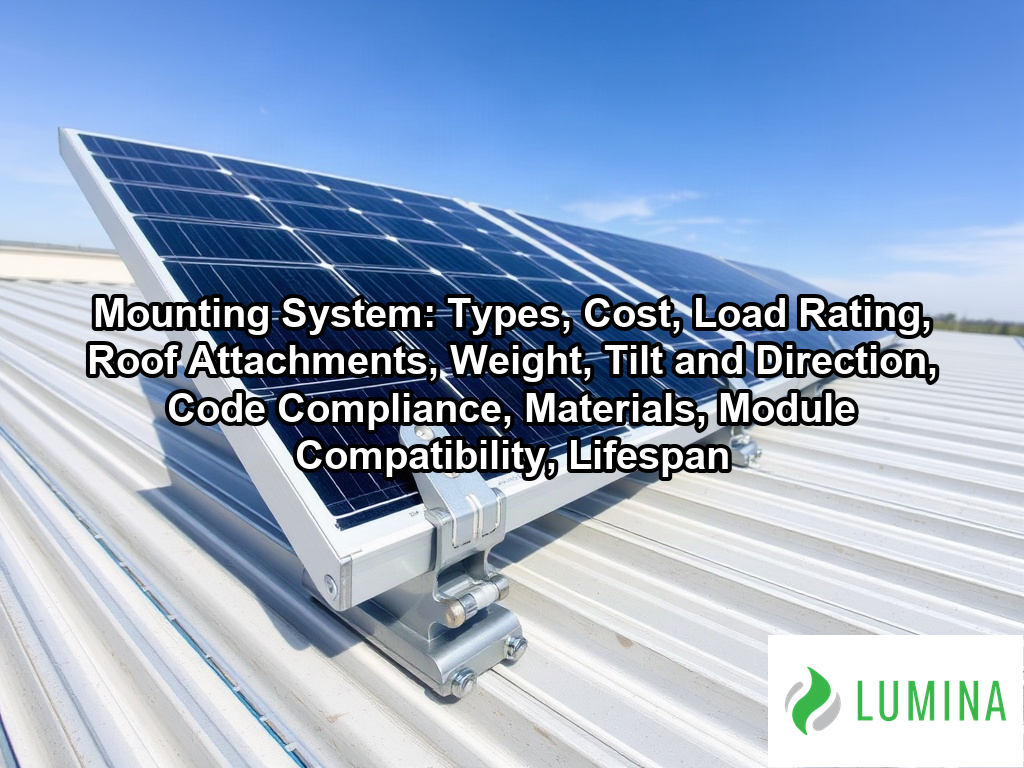
When researching “mounting system”, the key factors are types, cost, load rating, roof attachments, weight, tilt and direction, code compliance, materials, module compatibility, and lifespan. The structure secures each panel at a fixed angle and transfers its weight and wind forces into the roof framing or a ground foundation. Roof attachments such as flashed brackets and standoffs anchor the rails to rafters while keeping the roof surface watertight. Virginia solar contractors work with local wind and snow load requirements, which shape how the hardware is spaced and fastened. This article covers the main types, typical costs, roof attachment methods, load ratings, and the weight that the hardware adds to a structure.
Key Takeaways
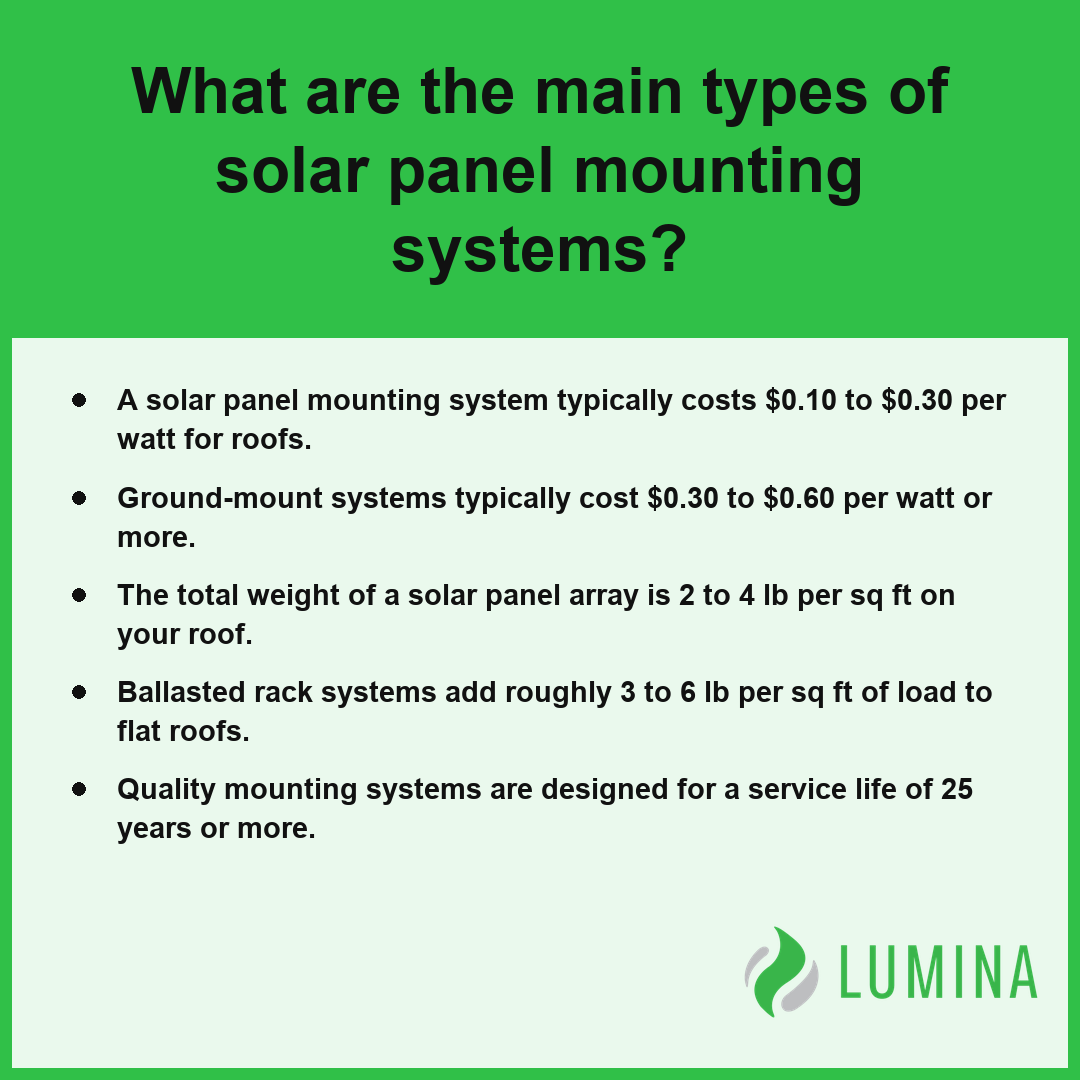
- A solar panel mounting system typically costs $0.10 to $0.30 per watt for roofs.
- Ground-mount systems typically cost $0.30 to $0.60 per watt or more.
- The total weight of a solar panel array is 2 to 4 lb per sq ft on your roof.
- Ballasted rack systems add roughly 3 to 6 lb per sq ft of load to flat roofs.
- Quality mounting systems are designed for a service life of 25 years or more.
Which Types of Solar Panel Mounting Systems Are Available?
There are several types of solar panel mounting system configurations, categorized primarily by their installation surface and ability to adjust toward the sun. Choosing the right architecture depends on your available space, structural capacity, and the desired efficiency of your array.
| System Type | Primary Mechanism | Key Characteristic |
|---|---|---|
| Roof-mount | Rails or direct-attach hardware | Low profile; utilizes existing building structure |
| Ground-mount | Driven steel posts or concrete footings | Ideal for large, unshaded land areas |
| Ballasted rack | Concrete blocks | Non-penetrating; for flat membrane roofs |
| Tracker | Active motorized pivoting | Follows the sun to maximize output |
| Carport/Canopy | Elevated steel columns | Combines shading with energy generation |
Roof-mount systems typically use aluminum rails to secure solar panels, while ground-mount solutions rely on sturdy steel supports anchored deep into the soil. Rail-less options exist to reduce weight, yet standard rail systems offer greater flexibility for uneven roof surfaces. For flat roofs, a ballasted rack provides a solution that avoids roof penetrations by relying on weight rather than mechanical fasteners. You should verify your site’s soil composition for ground-mounts or confirm your roof’s structural integrity for ballasted racks before committing to a specific hardware layout. Per the American Society of Civil Engineers, structural mounting systems must be engineered to comply with ASCE 7 standards to ensure they withstand the specific wind loads and seismic forces associated with the installation site.
Before selecting a mounting system, consider these additional site-specific factors:- Local Wind Loading: Ensure the mounting hardware is rated for your region’s specific wind speed requirements to prevent uplift damage.
- Corrosion Resistance: Opt for galvanized steel or anodized aluminum components if installing in coastal areas with high salt exposure.
- Thermal Expansion: Verify that the racking system includes expansion joints to prevent bowing as metal components heat and cool throughout the day.
- Maintenance Access: Design the layout with adequate spacing between rows to allow for periodic cleaning and service of the modules.
How Much Does a Solar Panel Mounting System Cost per Watt?
You can expect a typical residential roof-mount mounting system to cost between $0.10 and $0.30 per watt, while a ground-mount mounting system typically costs between $0.30 and $0.60 per watt or more.
| Mounting Configuration | Cost per Watt (Low) | Cost per Watt (High) | Primary Cost Drivers |
|---|---|---|---|
| Residential Roof-Mount | $0.10 | $0.30 | Roof material type, attachment density, and wind/pitch requirements |
| Residential Ground-Mount | $0.30 | $0.60+ | Structural site work, racking foundation, and hardware complexity |
Solar Mounting System Cost per Watt (USD)
Roof-Mount Cost Drivers
The cost per watt for a residential roof-mount mounting system typically ranges from $0.10 to $0.30. Per the United States Department of Energy, racking and mounting system costs for standard residential rooftop installations generally approximate between $0.10 and $0.20 per watt, depending on the complexity of the roof structure and material requirements. This price represents the baseline hardware investment required to safely secure your solar array to the rafters while ensuring structural integrity over a rated service life of 25 years or more.
Why Roof Attachments and Flashing Affect Price
Your total expense fluctuates based on the complexity of your roof architecture and the specific components required to maintain a watertight seal. The following factors influence your final hardware bill:
- Material complexity: Tile roofs require specialized hooks, which are more expensive than the L-feet used for asphalt shingles.
- Attachment density: Steeper pitches or high-wind zones often require more frequent roof attachment points to ensure adequate uplift resistance.
- Labor versus hardware: Choosing a rail-less mounting system may decrease the quantity of aluminum rails needed, though it often increases the precision required during installation.
Ground-Mount Cost Drivers
The cost per watt for a ground-mount mounting system generally spans from $0.30 to $0.60 or more. Unlike roof-mounted hardware, these systems demand additional investment in structural foundations, such as concrete footings or deep-driven steel posts, to resist wind loads and soil shifts.
Does a Tracker Justify Its Added Cost?
No, a tracker does not typically justify its added cost for the average residential user, as the mechanical complexity and maintenance requirements of these systems far exceed the value of the incremental energy gains provided by following the sun. While trackers effectively optimize the tilt angle throughout the day, the significant jump in capital expenditure and ongoing upkeep costs often results in a longer return on investment period compared to fixed systems.
Compare the anticipated increase in annual solar generation against the maintenance schedule provided by your installer before deciding if a complex mechanical system fits your long-term site plan.
Several variables unique to your home’s exterior directly influence the final line-item cost of your mounting hardware:- Roof age and condition: Older shingles may require specialized mounting hardware or professional reinforcement to meet local building codes.
- Roof pitch: Steeper slopes require additional safety equipment and specialized racking adjustments that increase labor and hardware expenses.
- Material compatibility: Installing mounts on clay tile or slate roofs necessitates more expensive, specialized flashing components compared to standard asphalt shingles.
- Obstructions: Chimneys, vents, and skylights limit available surface area, often requiring customized, high-cost rail configurations to navigate.
Roof Attachments for Shingle, Tile, Metal and Flat Roofs
Roof attachments for shingle, tile, metal and flat roofs serve as the critical interface between your mounting system and the structure of your home, utilizing specific mechanical strategies to ensure long-term integrity and watertightness. Per National Renewable Energy Laboratory, roof attachments for solar mounting systems must maintain the structural integrity of the roof and ensure waterproof seals to prevent moisture intrusion through the roof deck and underlayment. These components distribute the physical load of the array into the framing, typically requiring a 5/16 inch stainless steel lag screw embedded at least 2.5 inches into rafters to provide sufficient uplift resistance. The selection of an attachment is dictated by the roof surface material to ensure the mounting system remains secure without compromising the building envelope.
| Roof Surface Type | Primary Attachment Mechanism | Penetration Status | Structural Load Strategy |
|---|---|---|---|
| Asphalt Shingle | Flashed mount with waterproof barrier | Penetrating | Lag screw to rafter |
| Tile | Profile-specific steel tile hook | Penetrating | Rafter interface via notched tiles |
| Metal Standing Seam | Non-penetrating seam clamp | Non-penetrating | Compression grip on raised ribs |
| Flat Membrane | Ballasted rack system | Non-penetrating | Gravity-based weight distribution |
- Asphalt Shingle Roofs: Use flashed mounts that slip under shingles; a metal flashing plate sits against the roof deck and is sealed with a waterproof barrier to prevent leaks around the attachment bolt.
- Tile Roofs: Use specialized tile hooks that replace or modify the tile profile to reach the rafter, often requiring tiles to be cut or notched to accommodate the mount without cracking the surrounding material.
- Metal Standing Seam Roofs: Use non-penetrating S-5-type clamps that grip the raised seams of the metal roof panels, allowing the mounting system to expand and contract with the metal without creating new holes.
- Flat Membrane Roofs: Use a ballasted rack system that avoids roof penetrations entirely, relying on concrete blocks to provide enough weight to hold the array in place against wind forces.
Inspect the condition of your roof decking for signs of rot or instability before deciding which attachment style will be compatible with your rafters.
Best practices for ensuring the longevity and performance of roof attachments include the following considerations:- Apply a high-grade roofing sealant under the flashing interface to create a secondary line of defense against moisture.
- Verify that the attachment points are positioned centrally on the roof rafters to maximize pull-out strength and structural stability.
- Ensure that all fasteners and mounting hardware are made of corrosion-resistant materials, such as 300-series stainless steel, to prevent galvanic corrosion.
- Conduct a tension test on a sample of installed attachments to confirm that the mechanical connection meets local building code requirements for wind uplift.
- Avoid over-tightening lag screws, as stripping the wood fibers within the rafter can significantly reduce the structural capacity of the mount.
How Much Wind and Snow Can a Mounting System Withstand?
A mounting system can withstand wind and snow loads that meet regional engineering requirements, with designs typically rated for local conditions ranging from 110 to 180 mph wind speeds. Per the International Code Council, solar energy systems must be installed to support the dead load of the panels and the live loads of snow, wind, and seismic activity as determined by local jurisdictional requirements. Because your roof or ground site must remain stable under extreme pressure, manufacturers design every mounting system to comply with international structural building codes, which dictate how much force the hardware must transfer into your framing or soil.
| Structural Metric | Engineering Specification | Purpose/Function |
|---|---|---|
| Wind Speed Capacity | 110 – 180 mph | Resists structural lift and lateral drag |
| Roof Attachment Depth | 2.5 inches (min) | Anchors mounting system into structural rafters |
| Fastener Specification | 5/16 inch Stainless Steel Lag | Provides high-tensile uplift resistance |
| Clamping Placement | 25% – 33% from module ends | Distributes stress to prevent frame deformation |
| Compliance Protocol | UL 2703 | Validates electrical bonding and load integrity |
Wind Speed Engineering Ratings (mph)
To ensure your installation remains secure during severe weather, structural components are engineered based on specific performance criteria:
- Uplift Resistance: Each roof attachment, when properly secured with 5/16 inch stainless steel lag screws embedded at least 2.5 inches into rafters, typically resists several hundred pounds of upward force caused by wind.
- Safety Standards: Compliant equipment meets strict protocols, including UL 2703 standards for electrical bonding and structural integrity, ensuring the hardware does not fail under expected snow depth or gust conditions.
- Component Clamping: Solar panel frames are secured within specific clamp zones—usually one-quarter to one-third of the module length from the ends—to distribute stress across the rail and prevent localized frame failure.
- Ground-Mount Stability: Foundations are designed based on frost depth and soil type, often utilizing steel posts driven 4 to 8 feet into the ground to provide necessary resistance against lateral wind loads.
Review the specific wind and snow load certifications provided by the manufacturer for your zone to ensure the hardware rating matches your region’s environmental risk profile.
To maintain site integrity during extreme weather events, your installer will perform the following structural validation steps:- Verification of existing rafter span capacity to ensure the roof can support additional point-load stresses.
- Application of moisture-barrier sealant at all penetration points to maintain roof envelope integrity.
- Calculation of site-specific snow drift accumulation patterns to prevent localized overloading of mounting hardware.
- Torque testing of all structural fasteners to confirm they meet the required tension specifications for wind-uplift resistance.
How Much Weight Does a Mounting System Add to Your Roof?
A mounting system typically adds 2 to 4 lb per sq ft of weight to your roof, a measurement that accounts for the combined mass of the solar panels, rails, and hardware. Per the International Code Council, residential roof structures should be capable of supporting the additional dead load of solar modules and mounting hardware, which is typically calculated at 2 to 4 pounds per square foot. While this load is relatively light, the exact amount added to your roof structure varies depending on the specific installation approach. You should note that certain configurations, such as flat roof applications that utilize a ballasted rack, introduce significant additional weight because they rely on concrete blocks to hold the array in place without penetrating the roof surface.
| Mounting System Configuration | Estimated Structural Load (lb/sq ft) | Primary Load Distribution Mechanism |
|---|---|---|
| Rail-less Direct-Attach | < 2 lb | Rafter embedment (lag screws) |
| Standard Rail-Based | 2 – 4 lb | Rafter embedment (lag screws) |
| Flat Roof Ballasted | 3 – 6 lb | Surface-level concrete ballast weight |
Typical Solar Mounting System Weight (lb per sq ft)
To better understand how these configurations impact your roof, consider the following structural load characteristics:
- Standard rail-based mounting system: 2 to 4 lb per sq ft.
- Ballasted rack mounting system on flat roofs: 3 to 6 lb per sq ft.
- Rail-less direct-attach hardware: Weight is reduced by eliminating aluminum rails, often resulting in lower values within the standard range.
- Dead load distribution: Weight is transferred directly into roof rafters through lag screws with at least 2.5 inches of embedment.
Before proceeding with an installation, verify the structural capacity of your roof framing to ensure it can support the combined weight of the array and potential snow accumulation for your specific geographic zone.
To assess if your roof requires structural reinforcement before installation, consider these additional factors:- Roof Age and Material: Older roofs or those with clay tiles may require a structural engineer’s assessment to ensure rafters can handle the dead load.
- Local Snow Loads: In regions with heavy winter precipitation, the combined weight of the solar array and the accumulated snow may exceed your roof’s design capacity.
- Building Codes: Local jurisdictions often have stricter load requirements than national standards, potentially necessitating extra bracing regardless of the mounting system used.
- Attachment Density: Increasing the number of attachment points can distribute weight more effectively, though it requires more frequent roof penetrations.
Frequently Asked Questions
What materials are solar panel mounting systems made from?
Solar panel mounting systems are primarily made from aluminum rails, often using 6005-T5 or 6063-T6 alloys, while ground-mount systems typically utilize steel posts. These durable materials provide the structural integrity required to secure solar panels and transfer environmental loads like wind and snow safely into the roof or soil.
What tilt and direction should a solar panel mounting system use for the best output?
The best fixed tilt angle for a solar panel mounting system in the contiguous US is roughly equal to your latitude, typically about 25 to 40 degrees, while facing true south. While optimum orientation maximizes efficiency, setting your tilt angle off by 10 degrees only reduces your annual output by a few percent.
What codes and standards must a solar panel mounting system meet, such as UL 2703 and fire setbacks?
A solar panel mounting system must meet International Building Code structural requirements, ASCE 7 standards for wind and snow loads, and UL 2703 for safety, bonding, and grounding. These standards ensure your installation can withstand design wind speeds ranging from 110 to 180 mph depending on your specific location.
Will any solar panel mounting system fit any solar panel, and where should the clamps go?
Not every solar panel mounting system fits every solar panel, because you must attach clamps within the manufacturer’s specific zone, usually 1/4 to 1/3 of the module length from the ends. Clamping outside this designated zone can void your product warranties and cause physical cracking of your solar panel glass or frame.
How long does a solar panel mounting system last and what do warranties cover?
Quality installations have a rated service life of 25 years or more. While your hardware is designed for long-term durability, you should ensure your installer uses proper flashing and sealant, as a poorly sealed roof attachment is the most common failure point for any solar panel mounting system.